

Making a Clay Plate
You can buy single plates or even a full dinner set in any kitchen store. But factory dishes don’t have the same feeling as something made by hand. A plate shaped with your own hands keeps the warmth of the touch and the faint marks of the maker’s fingers. Every handmade piece is unique. You can create not only a dinner plate, but also a decorative one — give it as a gift or hang it on the wall.
Making a plate is a great way to start learning pottery. The shape is simple and easy to understand, the tools are minimal, and almost any result looks good. Even beginners can make something beautiful. If you are unsure about your skills, you can join a class at Pottery Studio 1, where instructors guide you through every step. But first, let’s look at how a shapeless piece of clay turns into a plate.
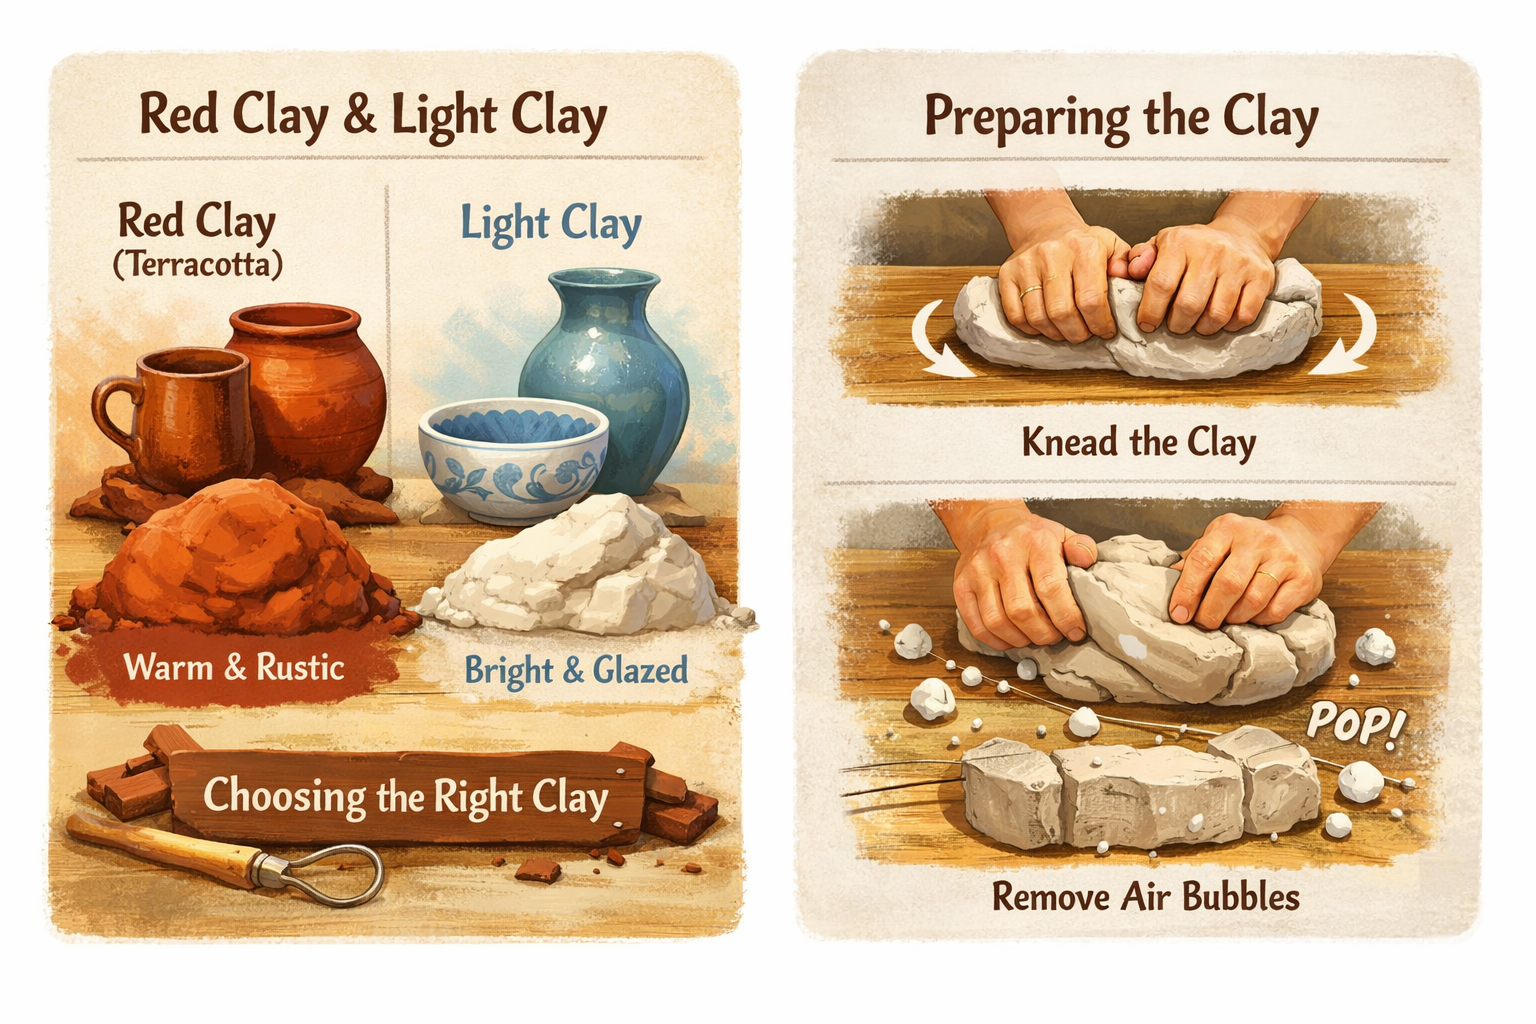
Pottery usually uses two main types of clay: red clay (terracotta) and light clay (such as kaolin or grog clay).
Choosing the Right Clay
Red clay gives a warm, natural color that works well for rustic-style pieces. Light clays are often used for glazed ceramics because colors appear brighter on them. Good clay should be soft, smooth, and free of lumps or debris. Before starting, it must be kneaded to remove air bubbles and make the clay more flexible.
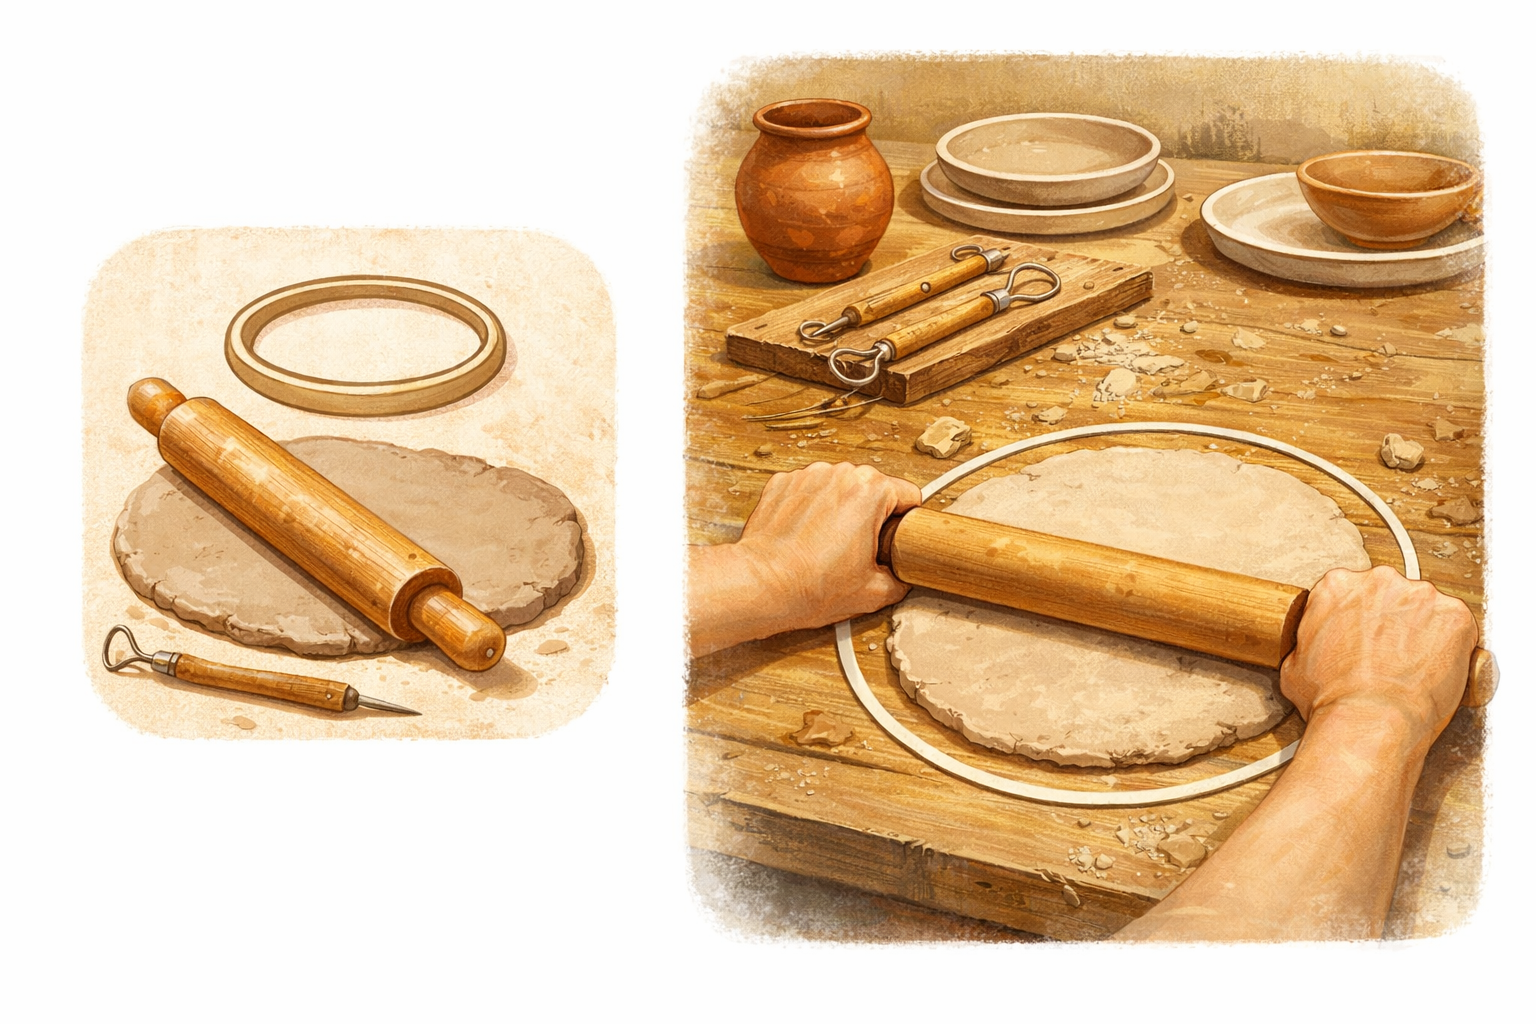
Before shaping the plate, the clay is rolled into an even slab. This creates a flat base and makes it easier to form the edges.
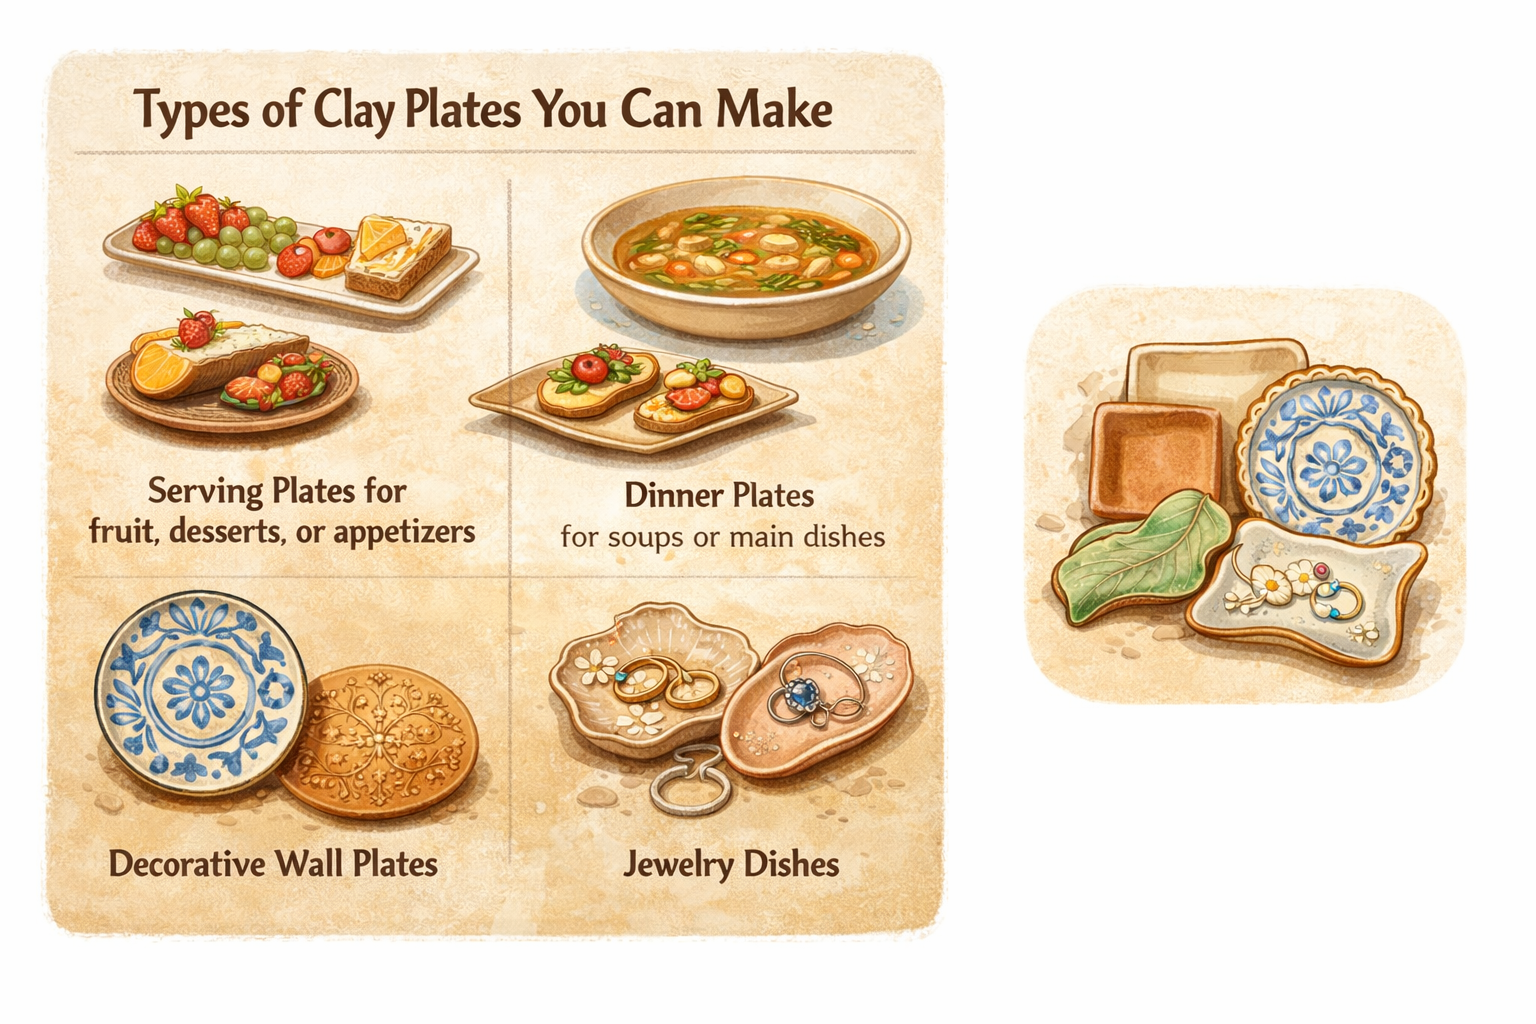
Types of Clay Plates You Can Make
Even when plates are made using the same technique, they can serve very different purposes. It all depends on the shape, depth, and decoration.
Here are some common types people make during pottery classes:
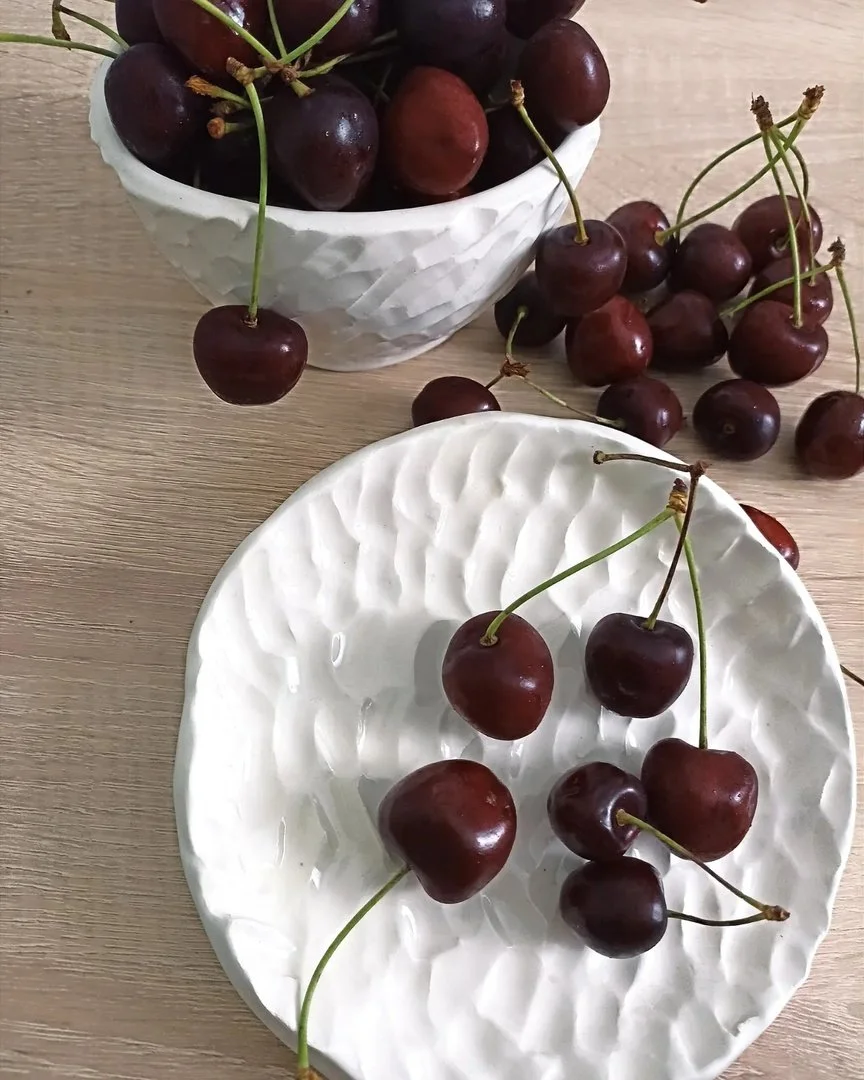
Serving plates for fruit, desserts, or appetizers. These can be round, oval, square, or rectangular. They are usually made from a flat slab or on a pottery wheel, with low, almost straight edges.
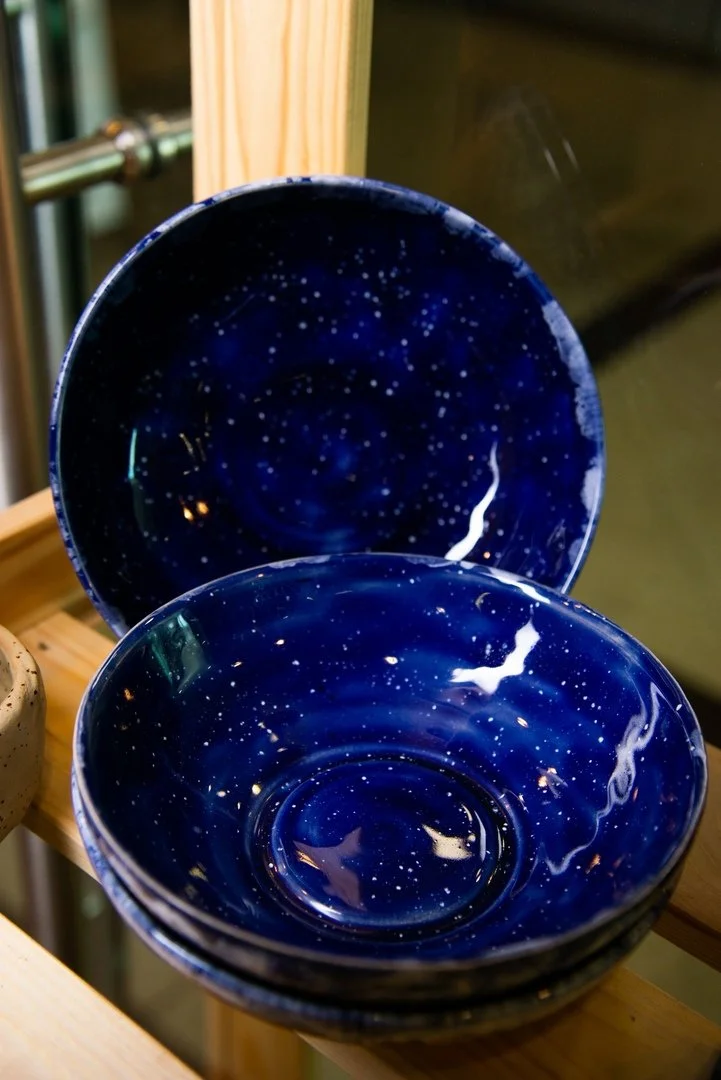
Dinner plates for soups or main dishes. These are often formed using coil-building techniques or shaped on a wheel with higher walls. They are glazed so they can safely hold hot food.
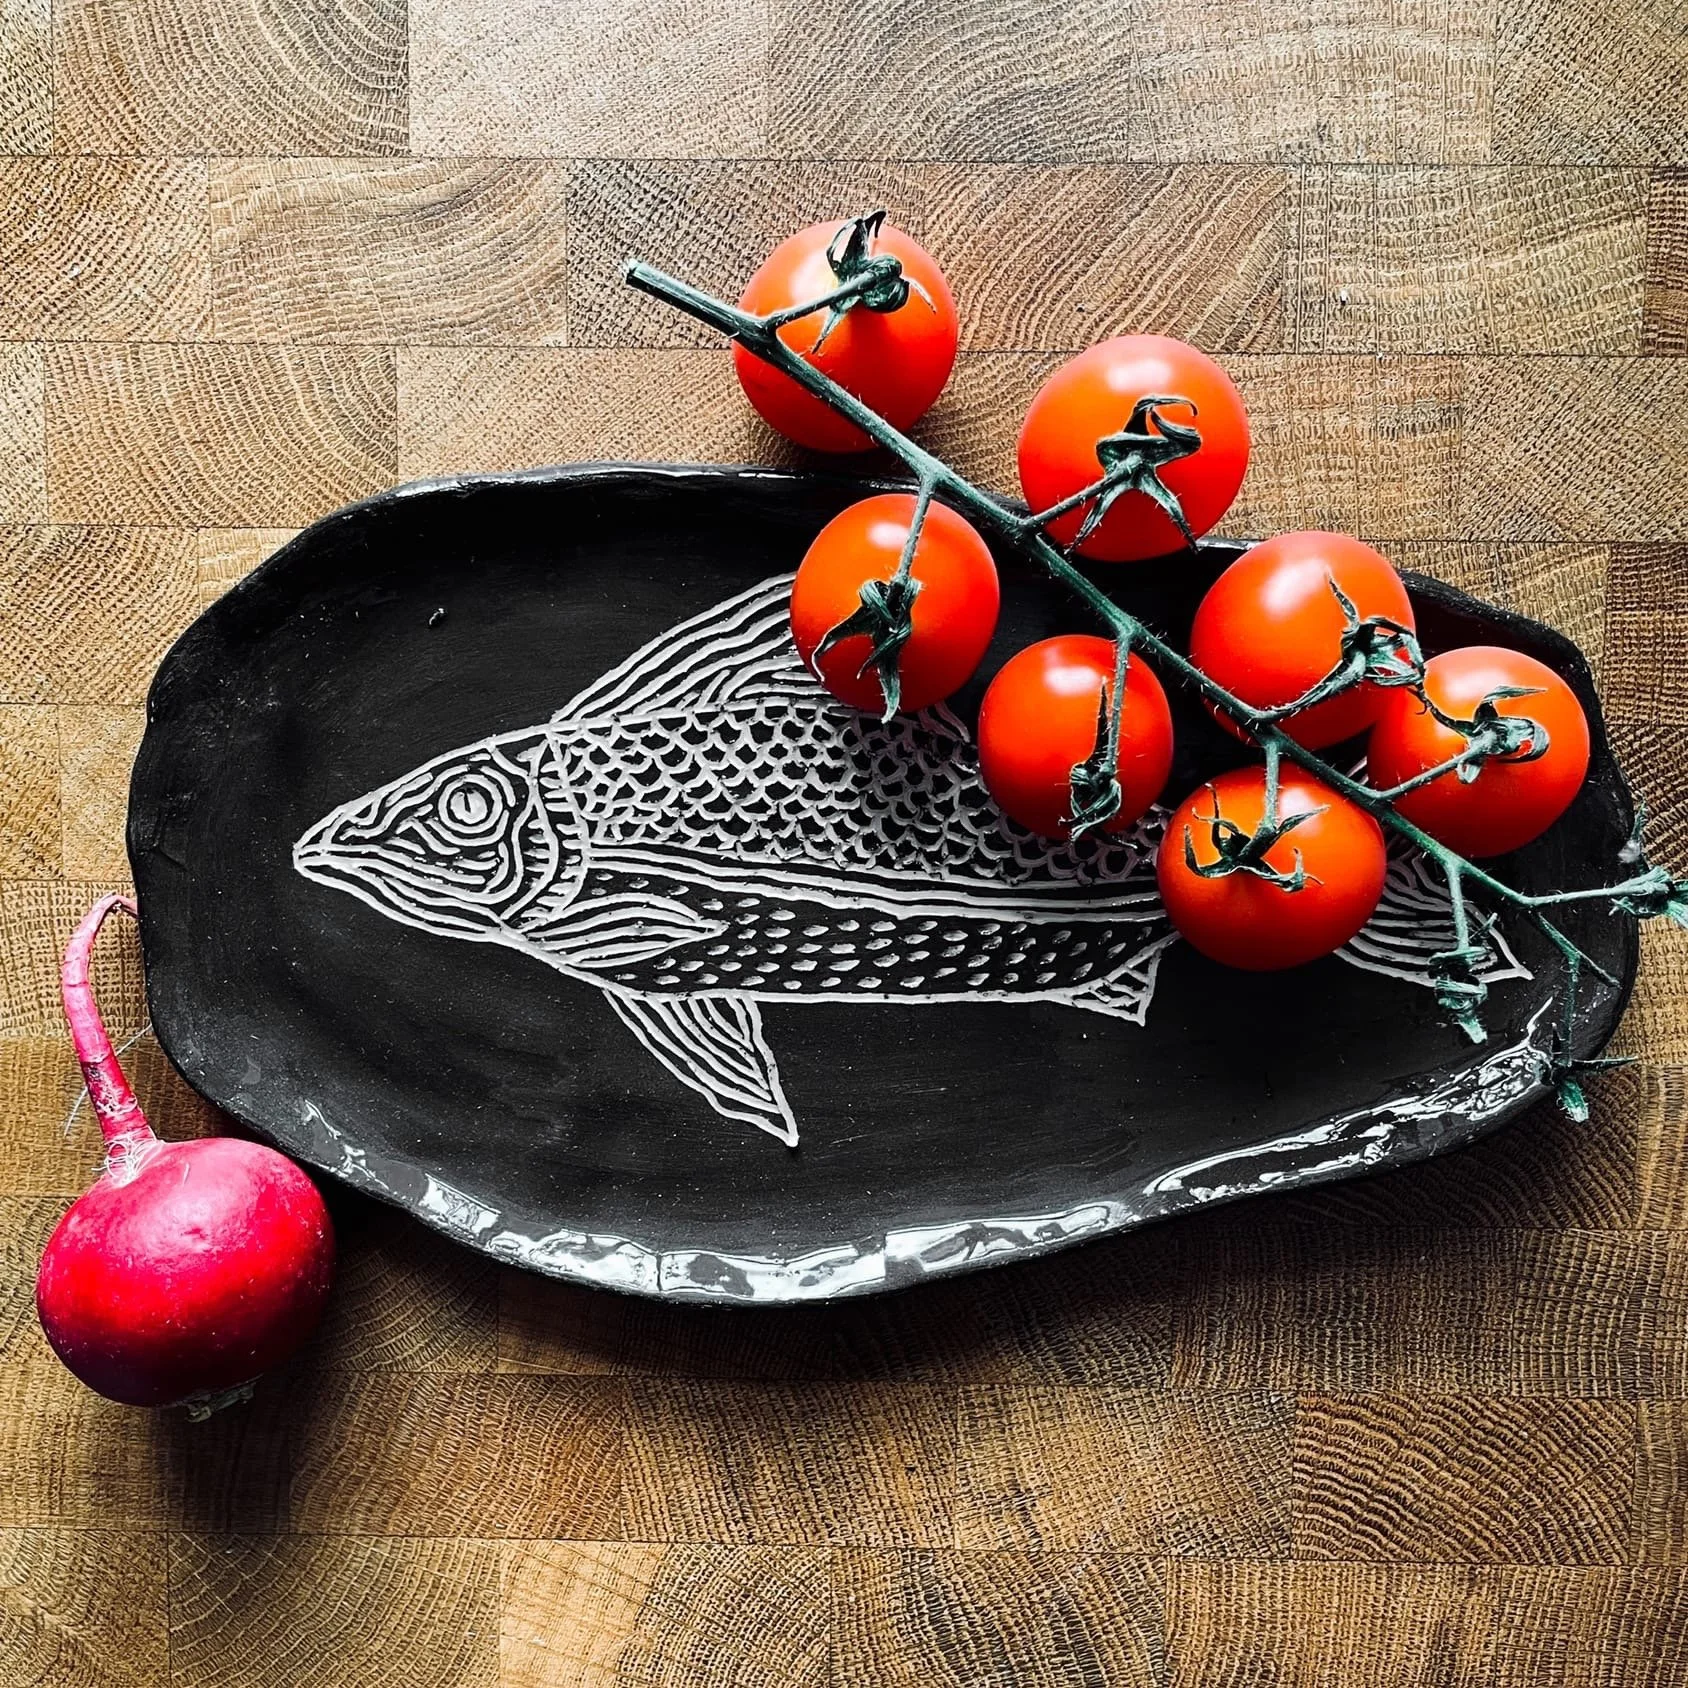
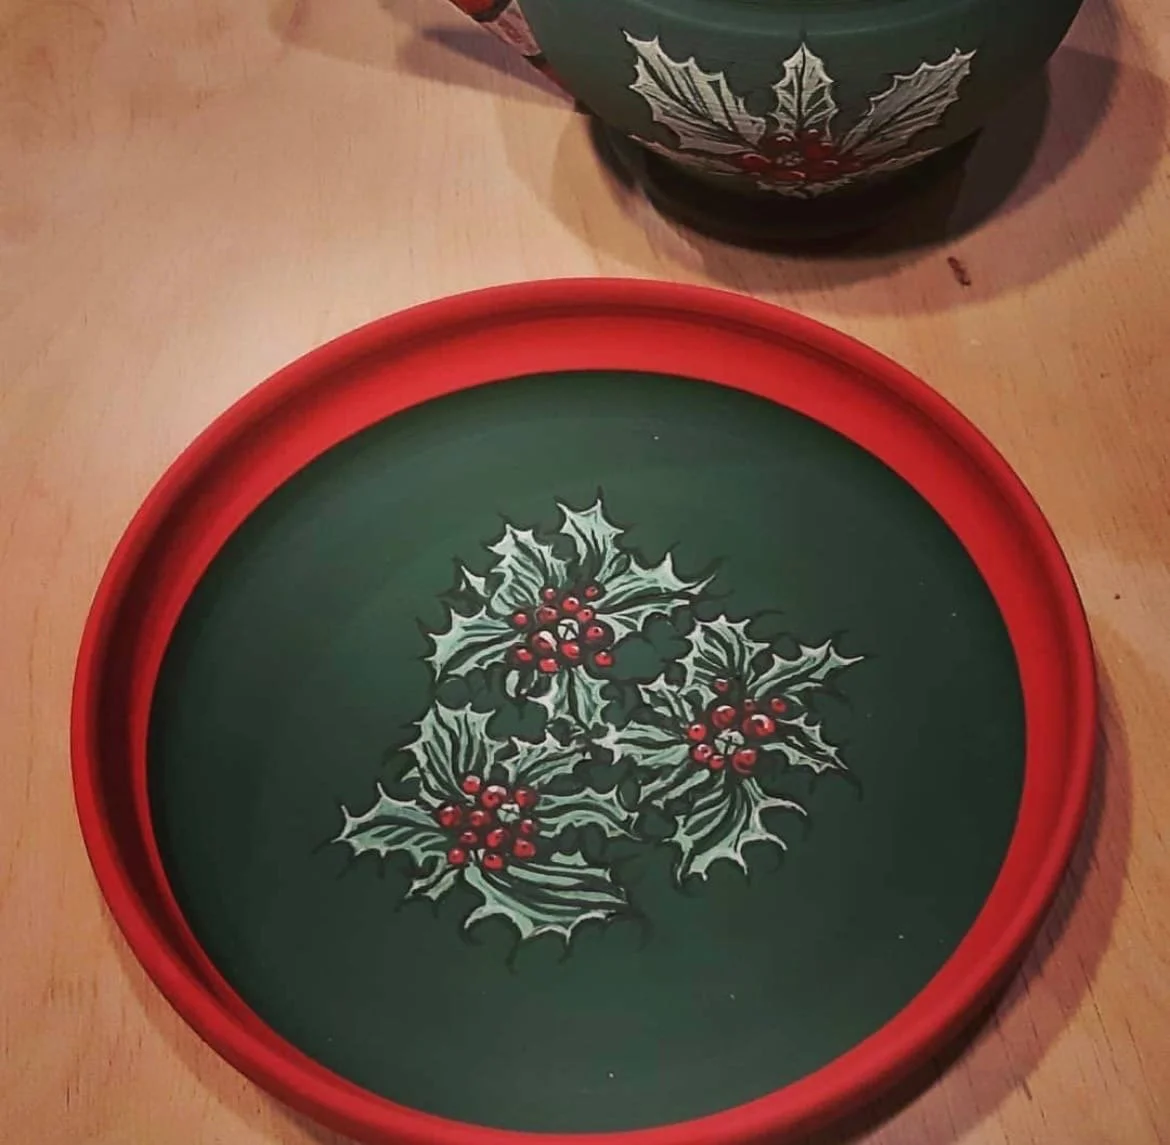
Decorative wall plates. These are usually flat or slightly elongated with strong textures, hand-painted designs, or raised clay decorations. They are often made using slab-building techniques.
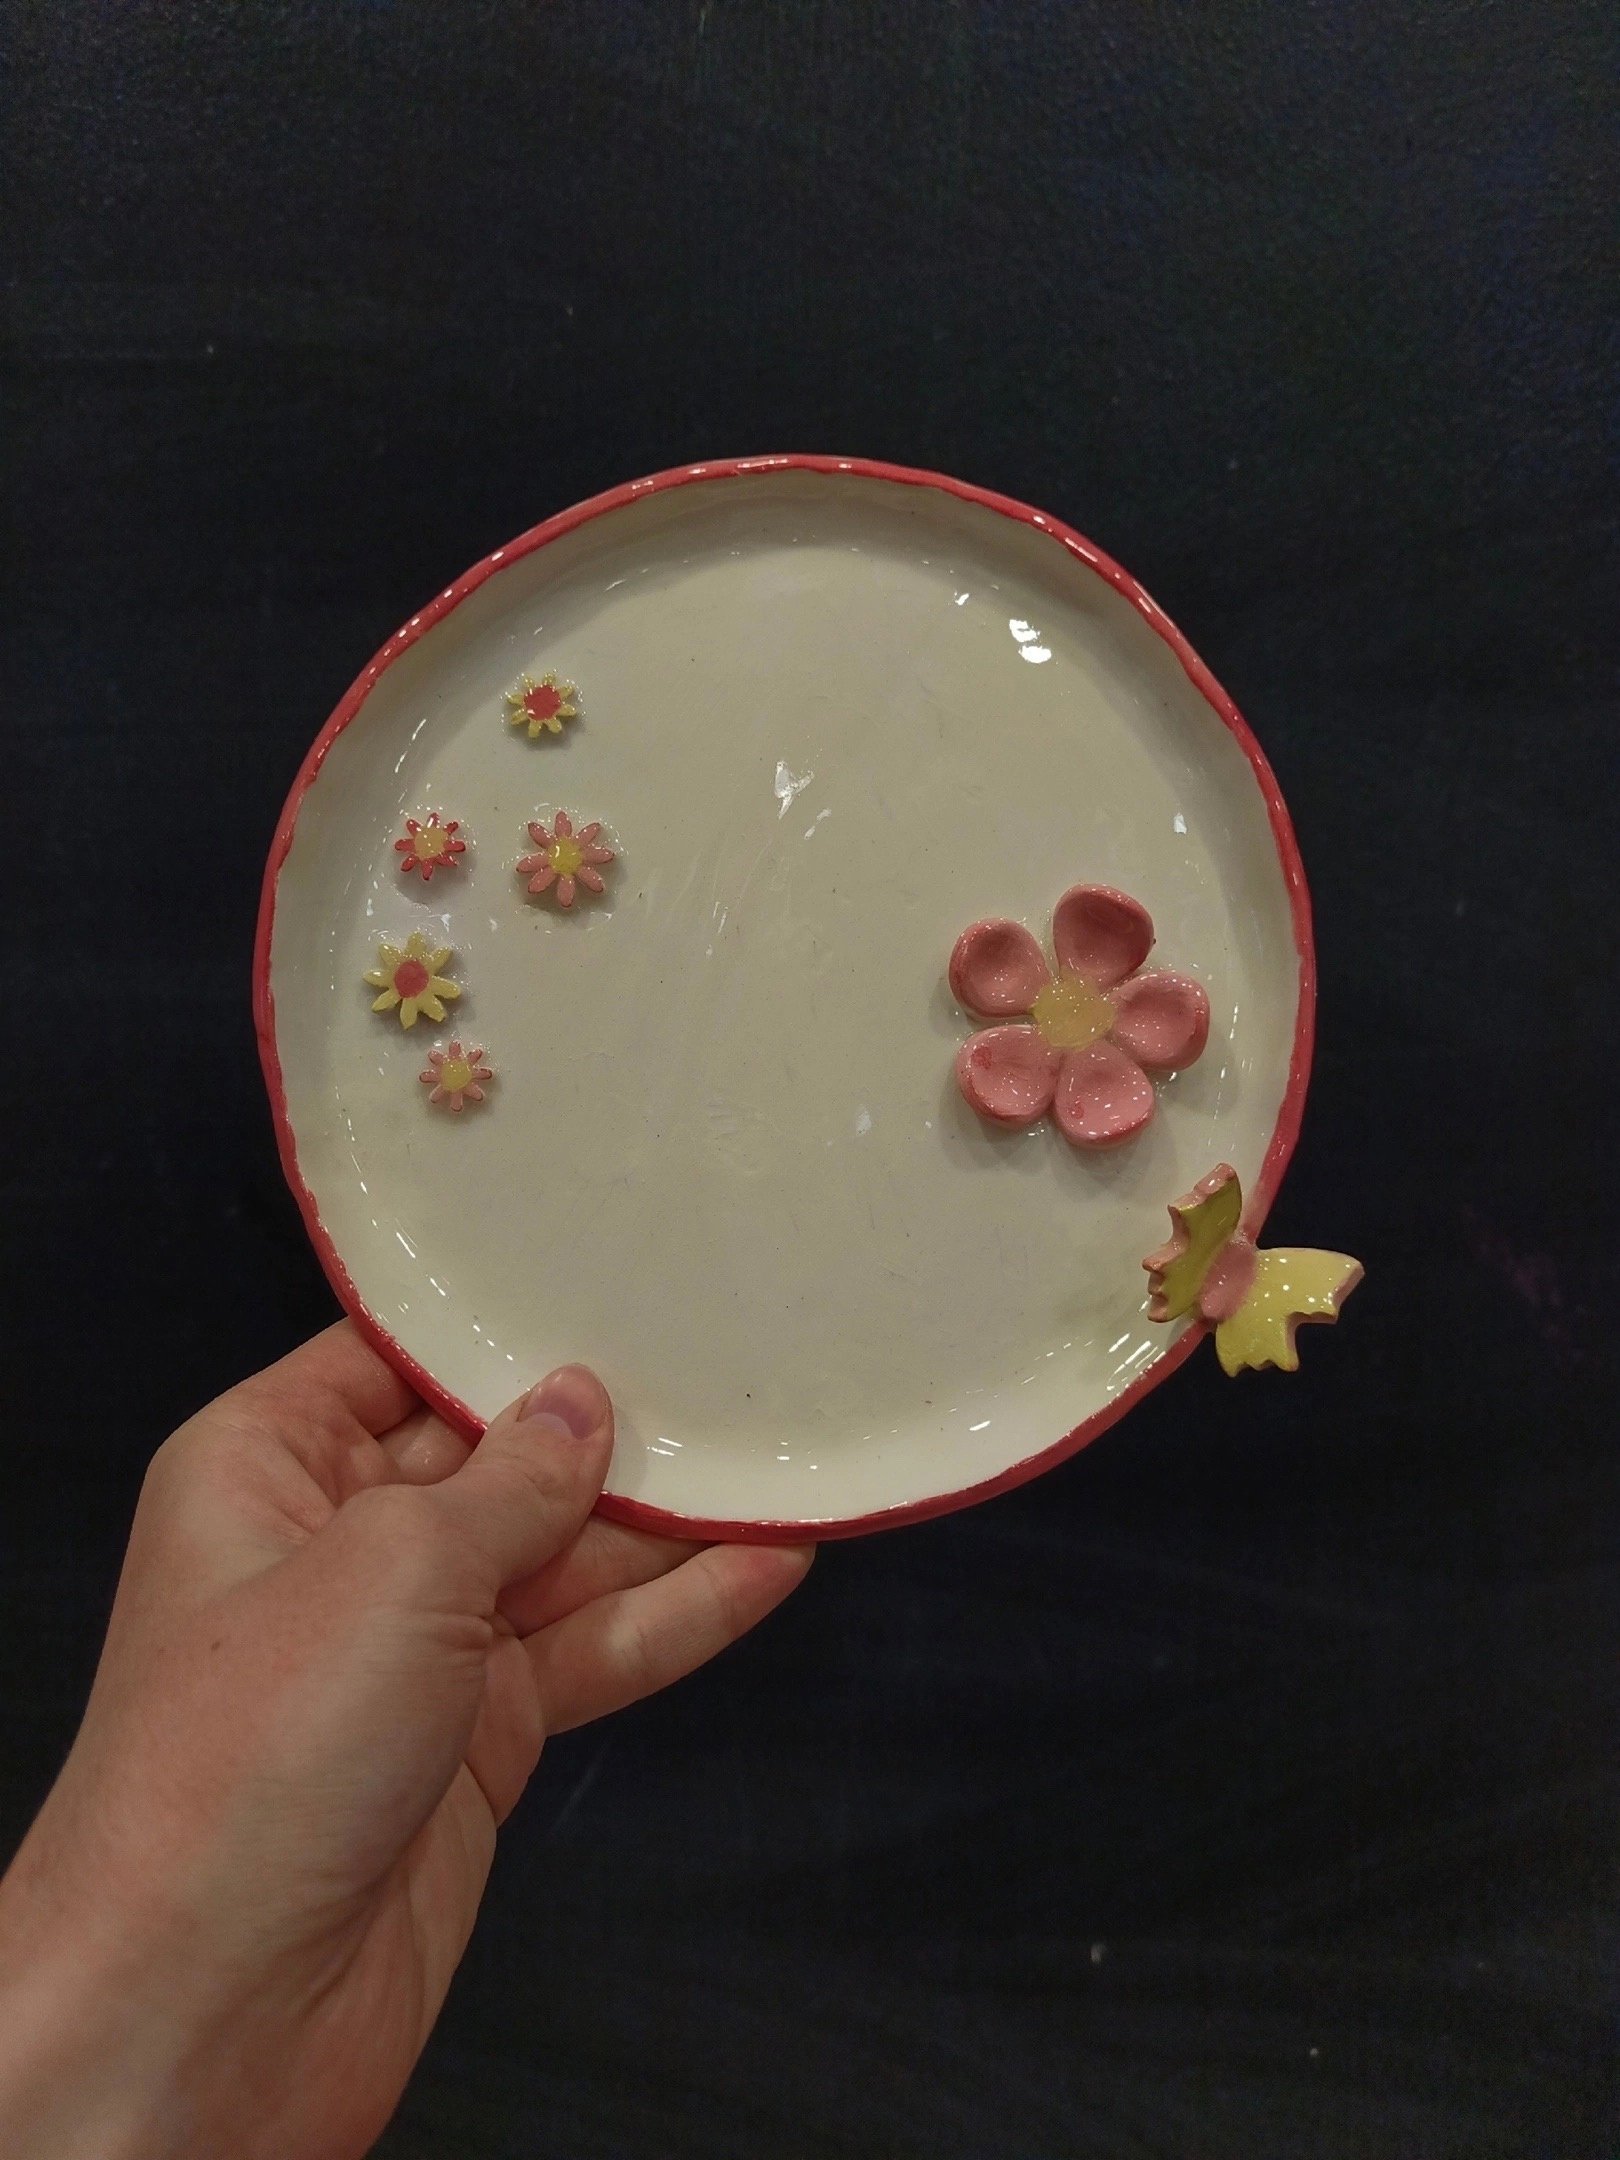
Jewelry dishes. A very popular project for beginners. They can have an intentionally uneven shape, small inscriptions, colored or gold edges, and simple decorative elements.
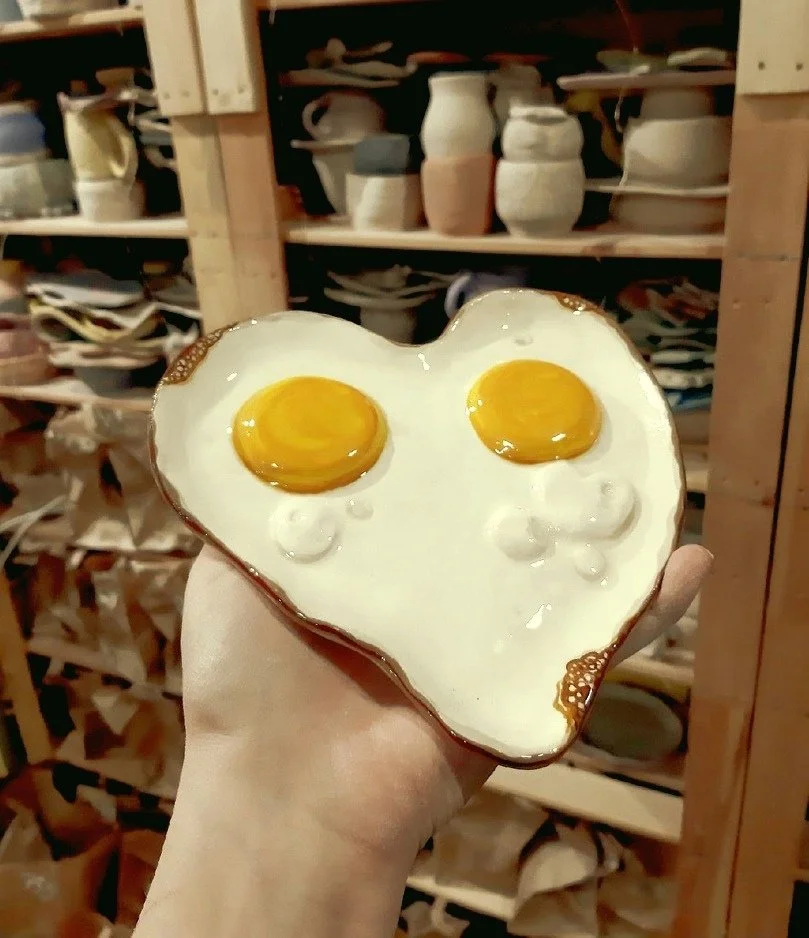
Artistic plates. These may be shaped like leaves, animals, the sun, or clouds. Artists often use templates or cut shapes freely from a slab of clay. They are decorated with painting, personal messages, or textured patterns.
Every plate made by hand ends up a little different from the others.
That is the charm of handmade ceramics — small details and natural imperfections give each piece its own character. How to Choose a Method for Making a Clay Plate. There are two main ways to make ceramic plates: hand-building or using a pottery wheel. The method you choose depends on your experience, the result you want, and the tools you have.
Hand-building doesn’t require special skills. With your hands, you can create plates in almost any shape, even unusual or artistic ones. A pottery wheel, on the other hand, helps create perfectly round and symmetrical plates. This method works best for people who already know the basics of wheel throwing.
Slab Method (Hand-Building)
Roll the clay with a rolling pin between two wooden guides so the thickness stays even. You can cut the shape using a template or draw it freehand. The edges can be smooth or decorative.

To create the shallow center of the plate, gently press a round object into the middle or shape the dip with your fingers. Smooth the surface with a damp sponge as you work. Move slowly so the clay slab does not tear.
If you want a raised rim, roll a thin coil of clay and attach it along the edge of the plate. Wet the connection area with water or slip first so it bonds well. The rim can stay smooth or be shaped into soft waves.
Coil Technique
The coil method is great for making deeper plates, bowls, or small serving dishes. Start by rolling several long clay coils of the same thickness. Thinner coils give a smoother surface but take more time to build.
For the base, cut a flat clay disk from a slab or shape one by hand. This will become the bottom of the plate or bowl.
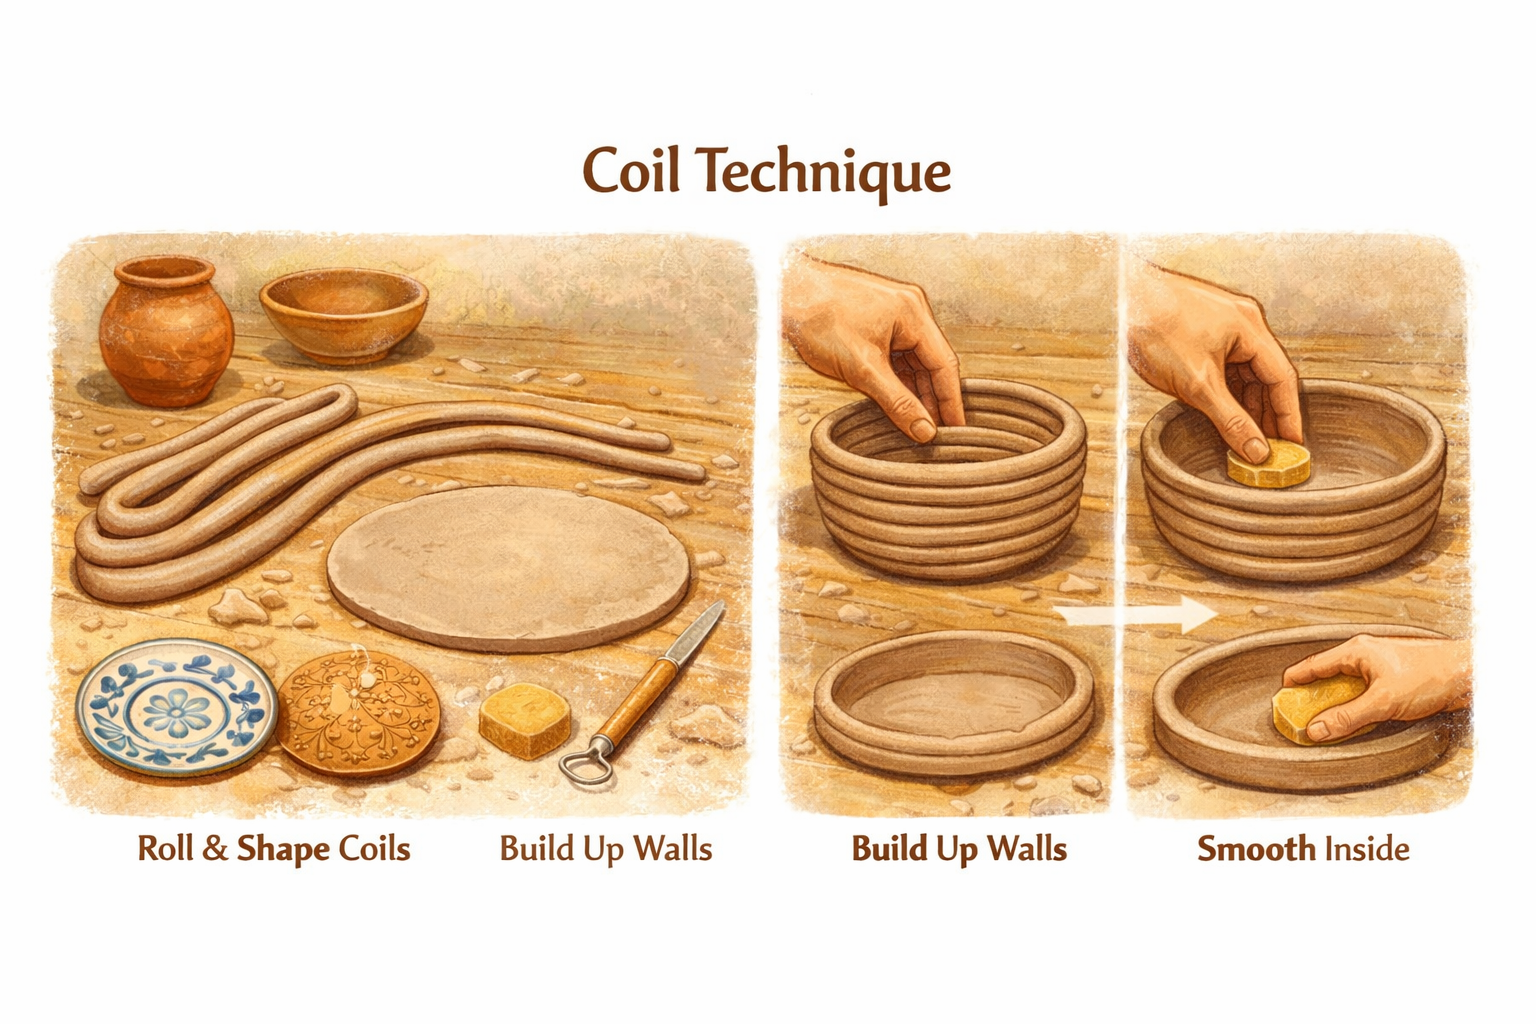
Place the first coil around the edge of the base, pressing it firmly into place. Continue stacking coils upward in a spiral. Lightly smooth each new layer with a damp sponge so there are no gaps between them.
When the walls reach the height you want, you can smooth the inside completely to create a clean surface, or leave the coil texture visible. Many people keep the texture because it shows the handmade character of the piece.
Making a Plate on the Pottery Wheel
Once you are comfortable centering clay and pulling simple shapes on a pottery wheel, you can try making plates.
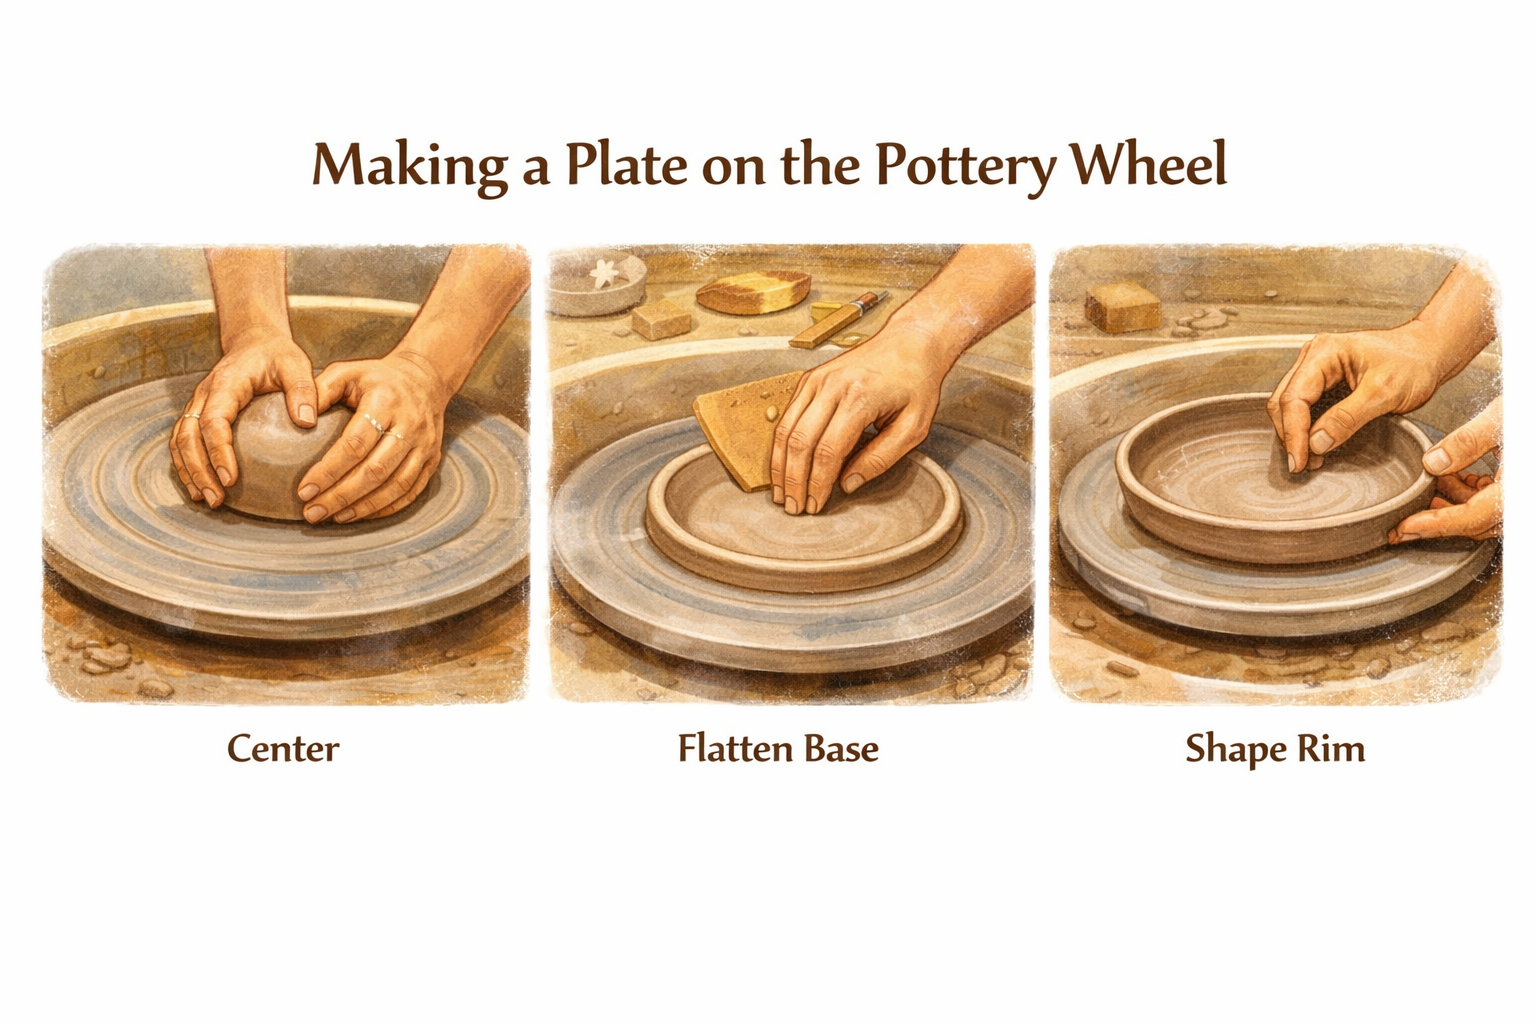
Start by centering a lump of clay on the wheel. Then press your thumb into the middle to open the center and create a flat base. The base should be about 70% of the final diameter of the plate, with a thickness of about 8–10 mm.
To keep the bottom flat, potters often use a rib tool. Glide it across the surface from the center toward the edges to smooth the clay and remove small waves.
The remaining clay becomes the rim of the plate. Pull the edges upward and slightly outward at the same time. Most plates only need a rim about 2–4 cm high.
Work with both hands at once—one inside the plate and the other outside—to control the shape. The rim can stay straight or tilt slightly outward depending on the style you want.
Finishing the Plate
After shaping the plate, it must dry completely. Do not place it near a heater or in direct sunlight because rapid drying can cause cracks. It’s better to leave the piece in a shaded area for several days and occasionally turn it so it dries evenly.
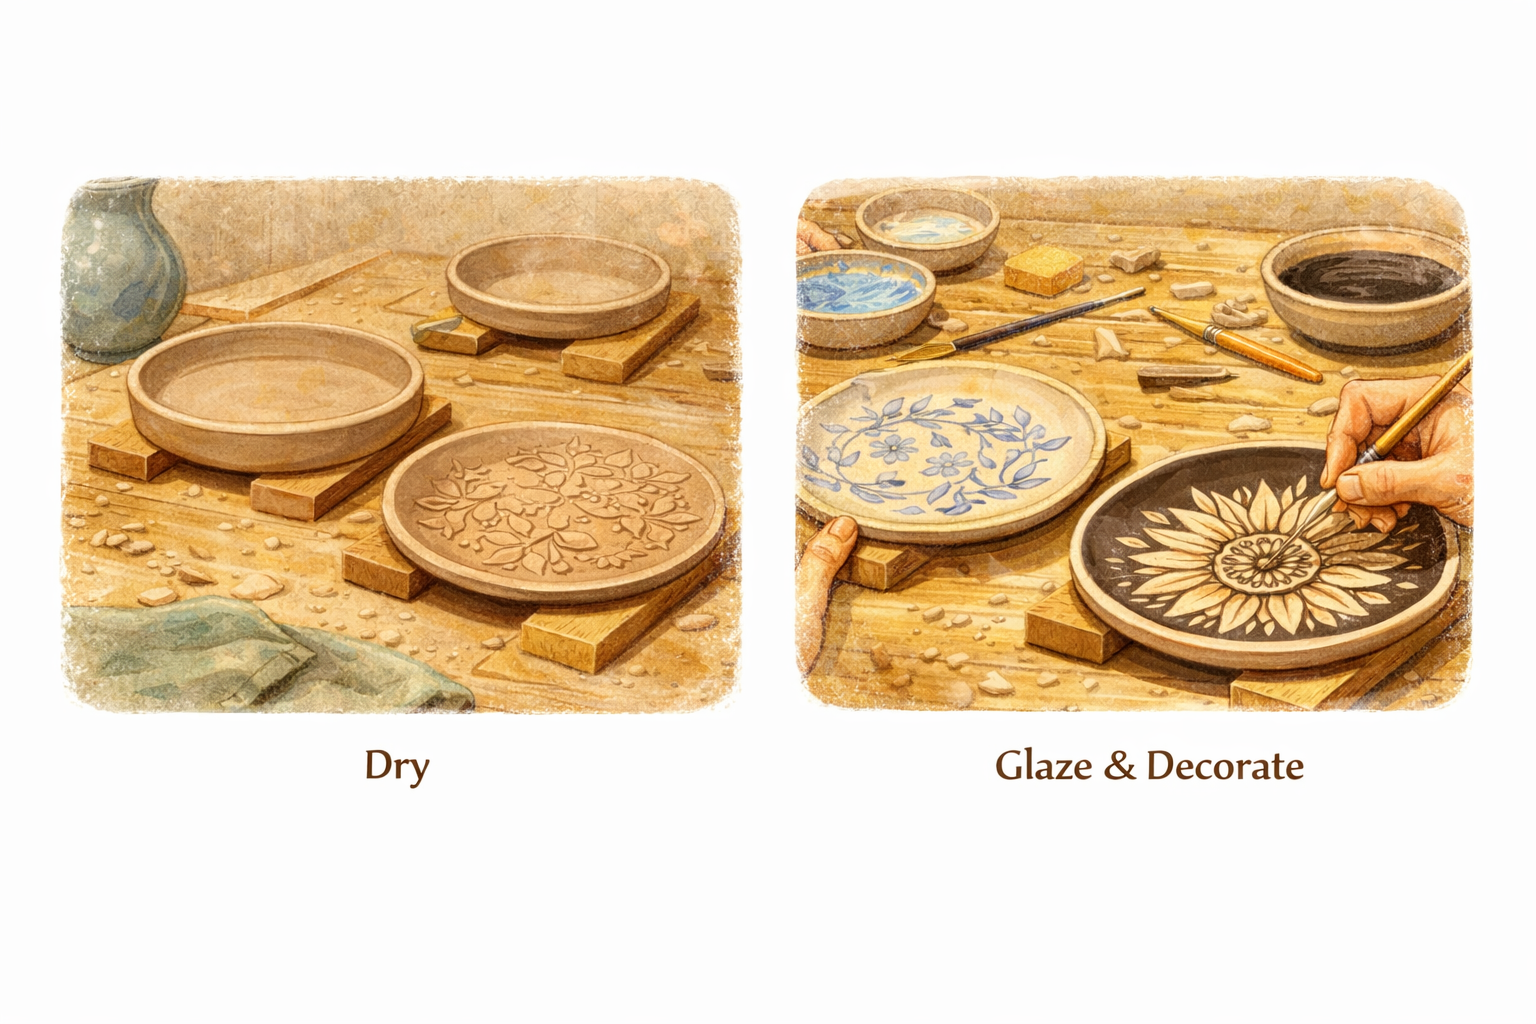
A decorative plate can remain as it is, but if you plan to use it for food, it must be fired in a kiln and covered with food-safe glaze. After glazing, the plate goes through a second firing.
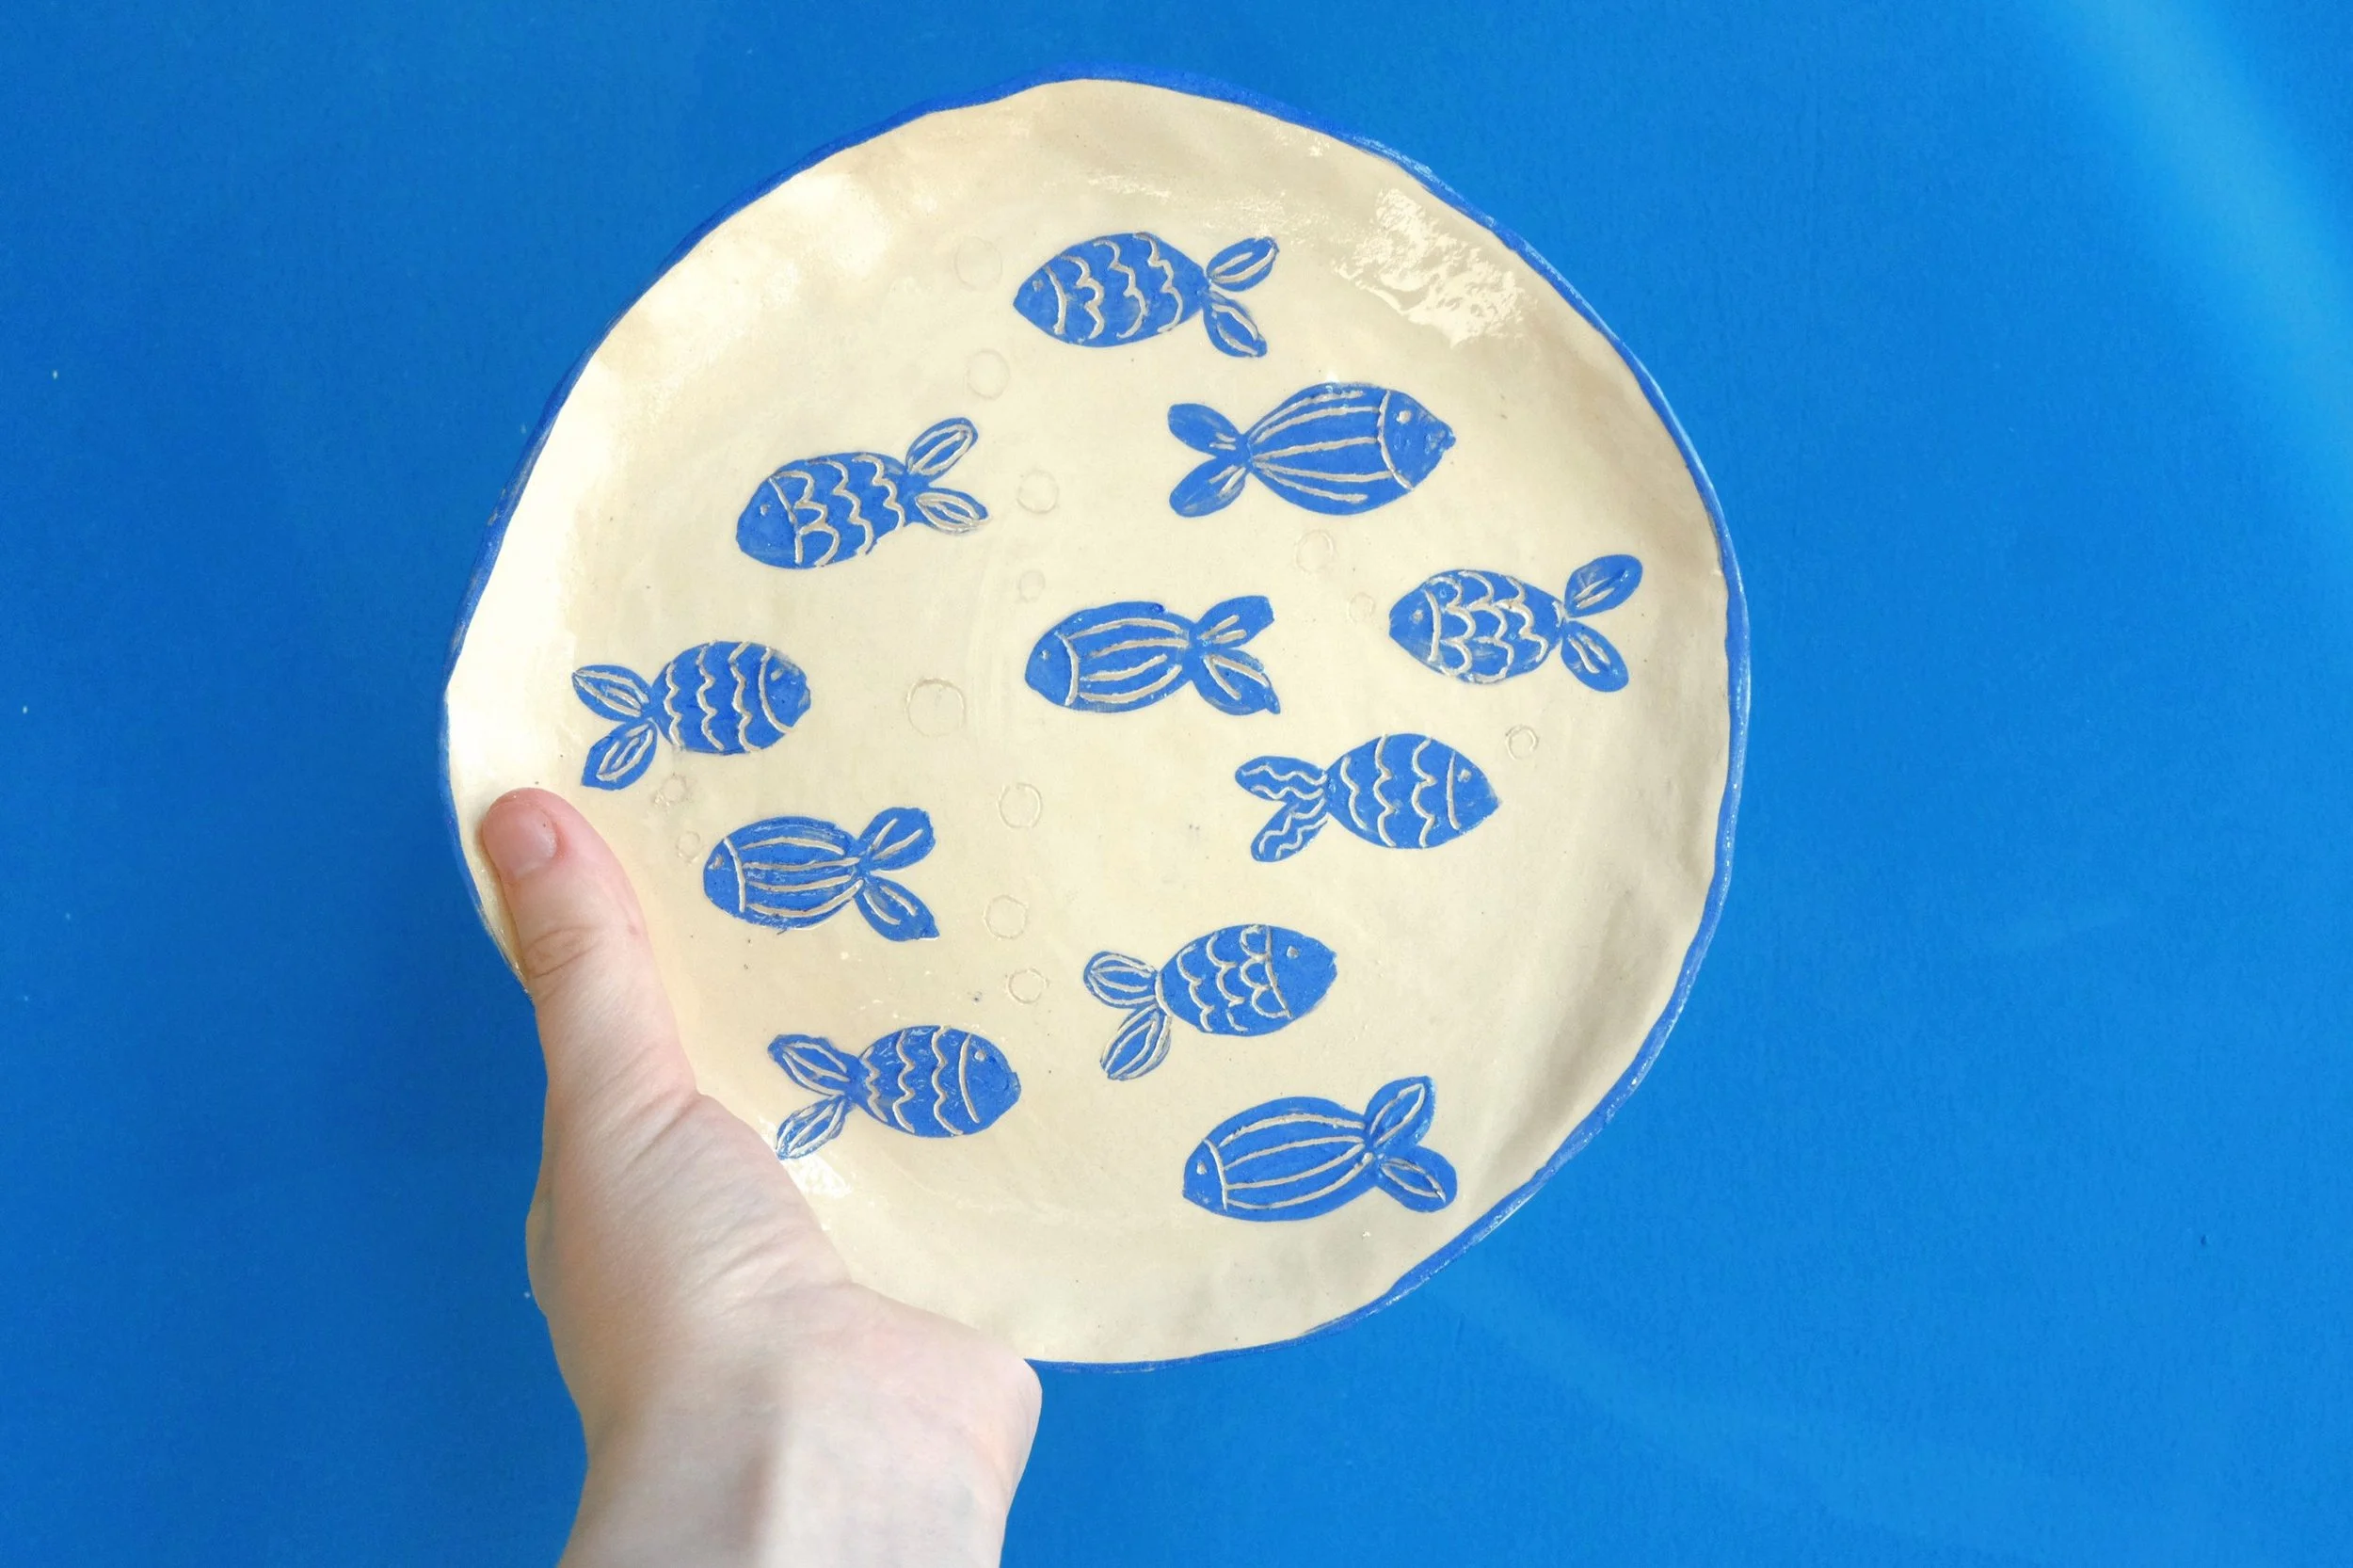
Many decorative techniques can be used at this stage. Artists often apply colored slip (liquid clay), carved textures, or hand-painted designs. One popular method is sgraffito, where a design is scratched through a colored surface layer to reveal the clay underneath.
At Pottery Studio 1, you can learn how to shape clay plates, decorate them, and paint them by hand during guided pottery classes. All materials, tools, and kiln firing are included. You simply arrive, sit down at the table, and start creating something with your own hands.
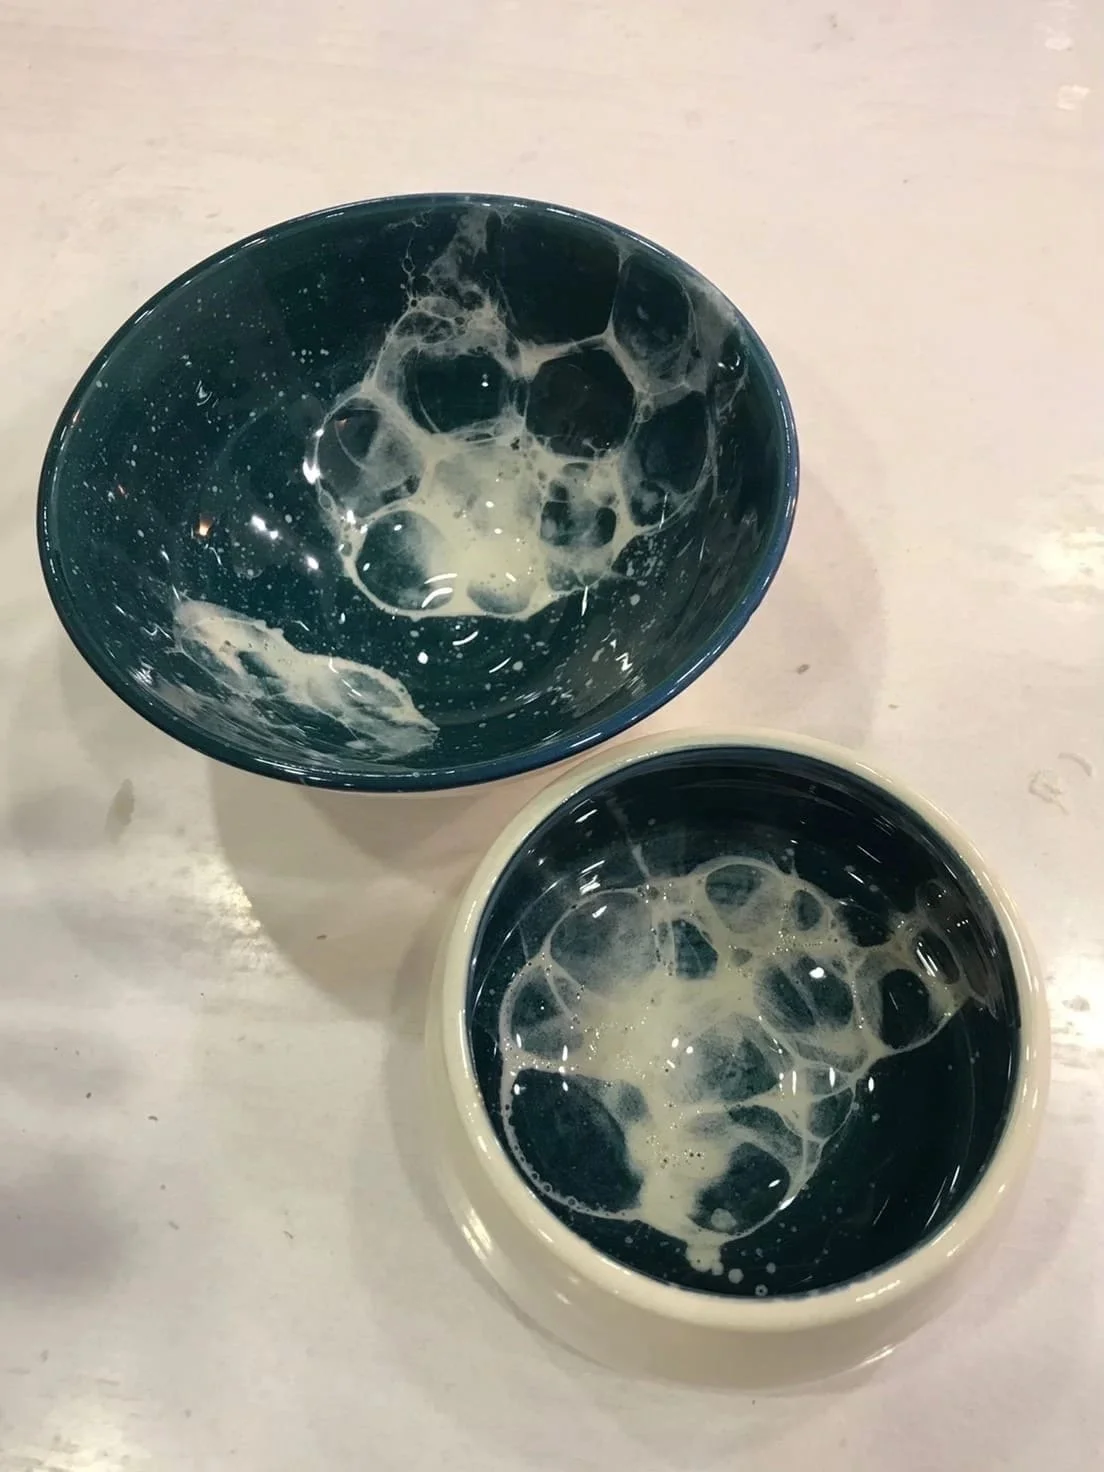
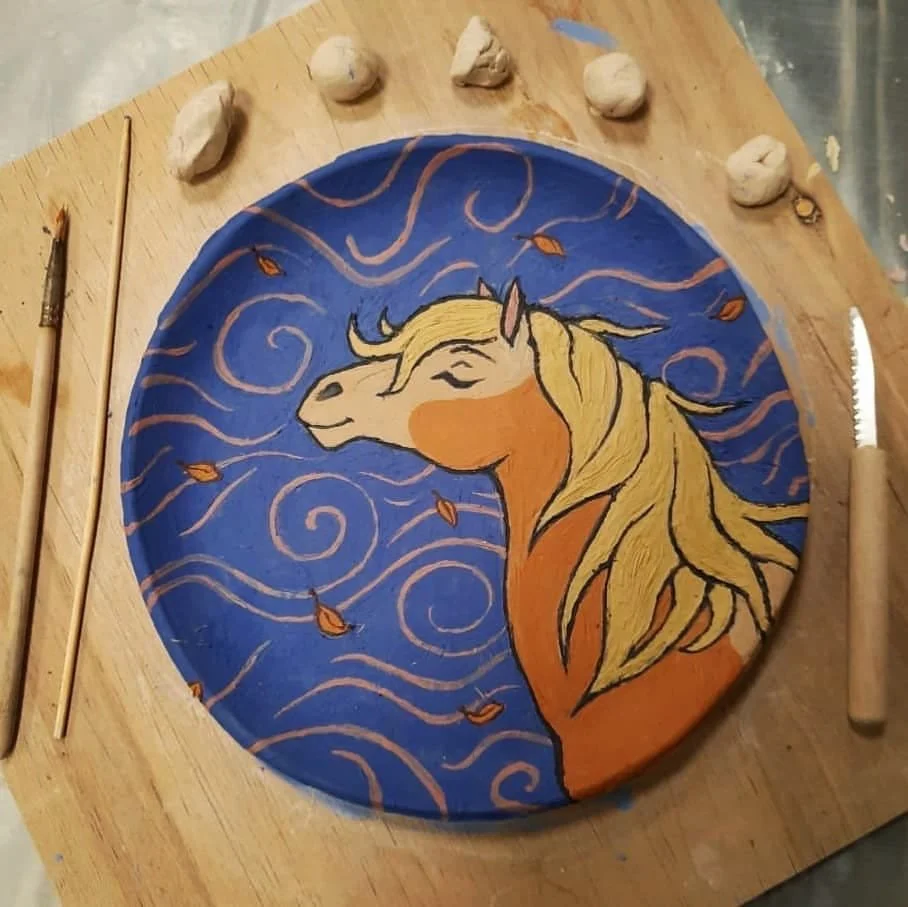
Clay plates handmade by our guests


The article was written by Darya Obenauer is a professional potter trained in England at City Lit in London. She specializes in wheel throwing and handmade ceramics, combining traditional techniques with a modern aesthetic.